
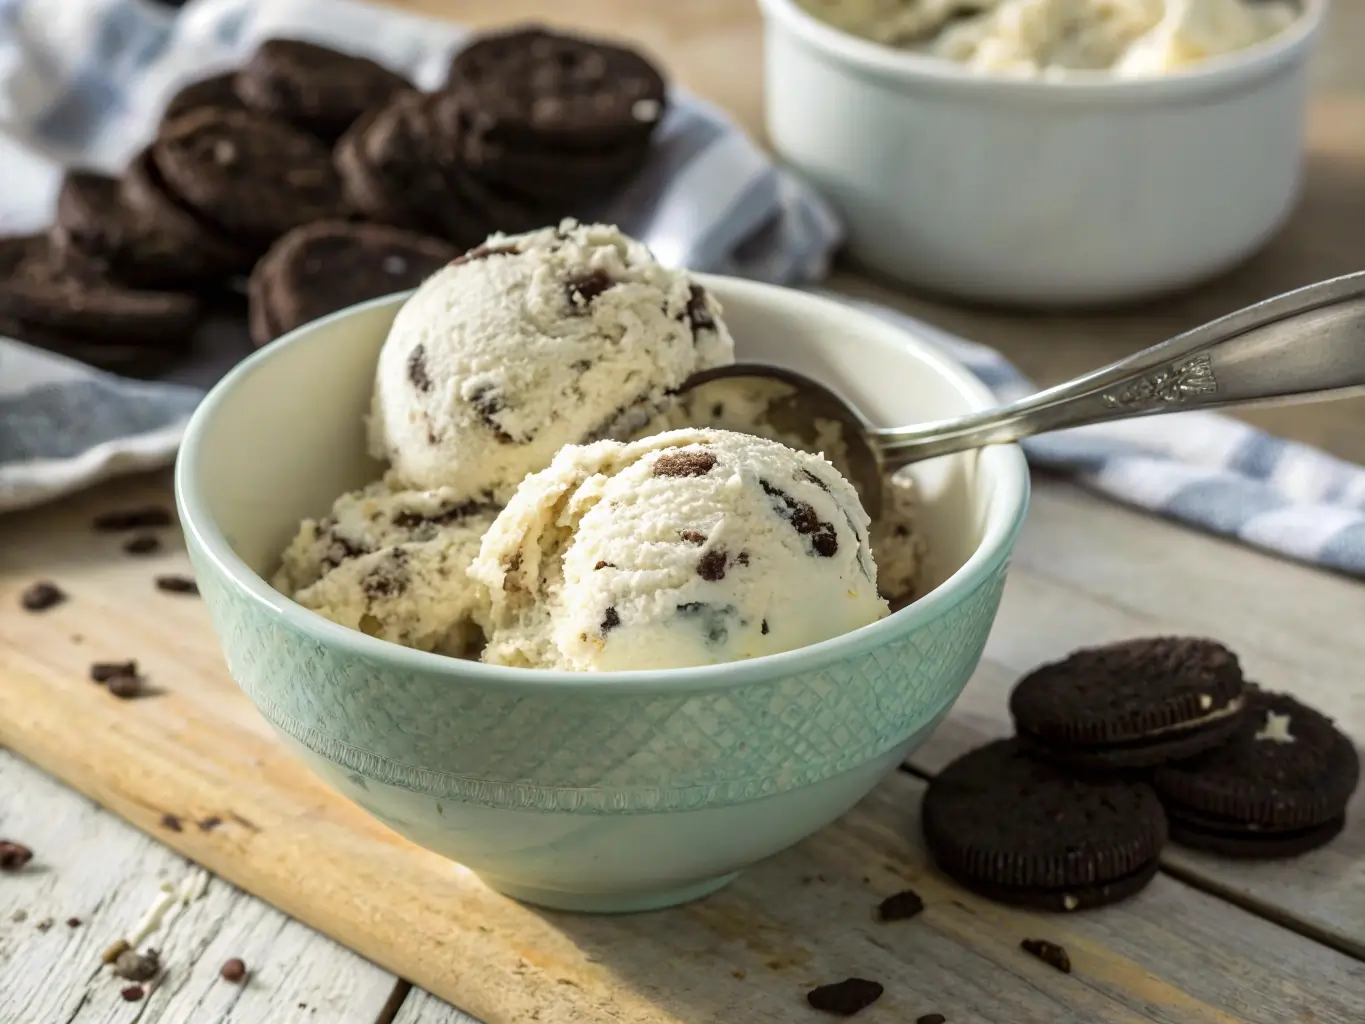
Ninja Creami Cookies and Cream is the ultimate homemade dessert combo that’s taken over kitchens across the country. If you’re craving a frozen treat that blends smooth, creamy texture with the satisfying crunch of chocolate cookies, the Ninja Creami is your new best friend. This innovative ice cream maker lets you customize flavors like never before—right from your freezer.
In this comprehensive guide, we’ll walk you through exactly how to make the perfect batch of Ninja Creami Cookies and Cream. From picking the right ingredients to getting the creamiest consistency, we’ve got every step covered. You’ll also discover expert tricks, creative flavor variations, and answers to common questions that pop up in the Creami community.
Whether you’re new to Ninja Creami or looking to perfect your cookie-infused creations, this guide is all you need to whip up a batch of magic.
Table of Contents
Introduction to Ninja Creami and Cookies and Cream Flavor
What exactly is the Ninja Creami and how does it operate?
The Ninja Creami breaks away from the mold of traditional ice cream machines. It’s a high-speed, customizable frozen treat machine that transforms a pre-frozen base into soft, creamy goodness in minutes. With its unique blade and Re-Spin technology, it processes solid ingredients into smooth ice cream, sorbets, milkshakes, smoothie bowls, and more.
Unlike churn machines that whip air during the freeze, the Ninja Creami creates a denser, more indulgent texture—perfect for mix-in-heavy flavors like Cookies and Cream. Whether you prefer dairy-based desserts or want a vegan option, this machine gives you full creative control.
It works best for:
- Ice creams
- Sorbets
- Gelatos
- Smoothie bowls
- Protein-packed frozen treats
Its signature function, the Re-Spin, helps achieve the perfect consistency, especially useful when making Ninja Creami Cookies and Cream with chunky mix-ins like crushed cookies.
What makes Cookies and Cream an all-time crowd-pleaser
When it comes to iconic ice cream flavors, Cookies and Cream consistently ranks near the top. And when you combine it with the precision of the Ninja Creami, it becomes an elevated classic that’s easy to make at home.
Here’s why this flavor works so well with the Ninja Creami:
- Easy to personalize with different types of cookies (Oreos, gluten-free, chocolate chip)
- Pairs beautifully with dairy or non-dairy bases
- The contrast between the creamy base and crunchy cookie pieces creates an unforgettable mouthfeel
- A timeless treat enjoyed by both kids and adults, making it a perfect pick for family indulgence.
If you’re new to frozen treat making, Ninja Creami Cookies and Cream is the ideal starting point—it’s simple, reliable, and downright delicious.
Quick overview of how Ninja Creami changes homemade ice cream
Before the Ninja Creami, making homemade ice cream was often complicated, required specialized equipment, and produced inconsistent results. But this tool removes all the guesswork. Now, making a batch of Cookies and Cream in the Ninja Creami is as easy as:
- Mixing your ingredients
- Freezing the base overnight
- Spinning it into a soft-serve delight
You get to:
- Skip traditional churning
- Control sugar and fat levels
- Add your favorite cookies exactly how you want
With the Ninja Creami Cookies and Cream recipe, every spoonful tastes like it came straight from a boutique creamery—but better, because you made it.
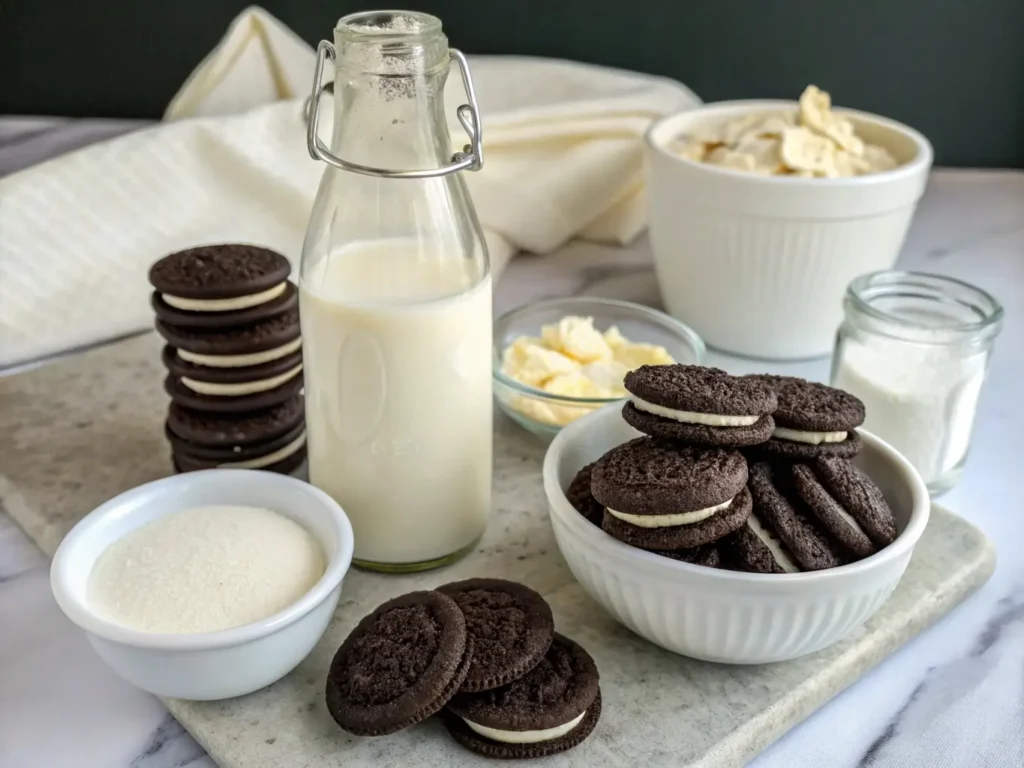
The Essential Ingredients for Ninja Creami Cookies and Cream
Creating the perfect batch of Ninja Creami Cookies and Cream starts with choosing the right ingredients. The quality of your cookies, cream base, and mix-ins can make or break your dessert. This section helps you get that balance just right—rich, creamy, and packed with cookie goodness.
Best cookies to use for Ninja Creami recipes
Not all cookies are created equal when it comes to Ninja Creami. Since the machine blends and spins mix-ins, the cookie texture matters.
Top cookie options for Ninja Creami Cookies and Cream:
| Cookie Type | Texture After Spin | Flavor Strength |
|---|---|---|
| Original Oreos | Slightly chewy | High |
| Chocolate wafers | Soft | Moderate |
| Gluten-free cookies | Crumbly | Medium to high |
| Homemade cookies | Varies | Customizable |
Tips:
- Avoid super-hard or stale cookies—they won’t blend evenly.
- For bigger cookie chunks, mix in manually after the first spin.
Using quality cookies ensures your Cookies and Cream Ninja Creami recipe turns out smooth with just the right crunch in every bite.
Recommended cream bases: dairy vs. dairy-free options
Your base is the foundation of your Ninja Creami Cookies and Cream. Whether you’re using dairy or going plant-based, choose ingredients that create a creamy texture when frozen.
Dairy Base Options:
- Combining whole milk with heavy cream delivers the ultimate in richness and velvety smooth texture.
- Half and half (slightly lighter)
- Sweetened condensed milk (adds sweetness and thickness)
Dairy-Free Base Options:
- Full-fat coconut milk (great creaminess)
- Oat milk paired with almond butter offers a mild, creamy base with subtle flavor and added richness for the perfect texture.
- Soy milk + plant-based yogurt (balanced option)
Pro tip: Add 1 tbsp of cream cheese or pudding mix to either base to improve texture.
No matter your dietary needs, the right base gives your Ninja Creami Cookies and Cream ice cream that dreamy consistency people love.
How to balance sweetness and texture
Cookies naturally add sweetness, so avoid overloading the base with sugar. Instead, aim for mildly sweet bases that complement, not overpower, the cookie flavor.
General guideline for sweetener:
- Add 1–2 tablespoons of your preferred sweetener—whether it’s sugar, maple syrup, or monk fruit—for just the right touch of sweetness per pint
- Taste test before freezing
- Remember: frozen desserts taste less sweet than when liquid
As for texture, ensure your base isn’t too watery. More fat equals smoother ice cream—whether that comes from dairy or healthy fats like nut butters.
How to Make Cookies and Cream Ice Cream in the Ninja Creami: A Step-by-Step Guide
Ready to make your first pint of Ninja Creami Cookies and Cream? This part guides you through every phase—from prepping your base to spinning the perfect scoop. Whether you’re a beginner or a seasoned Creami pro, these steps ensure consistently creamy, cookie-packed results.
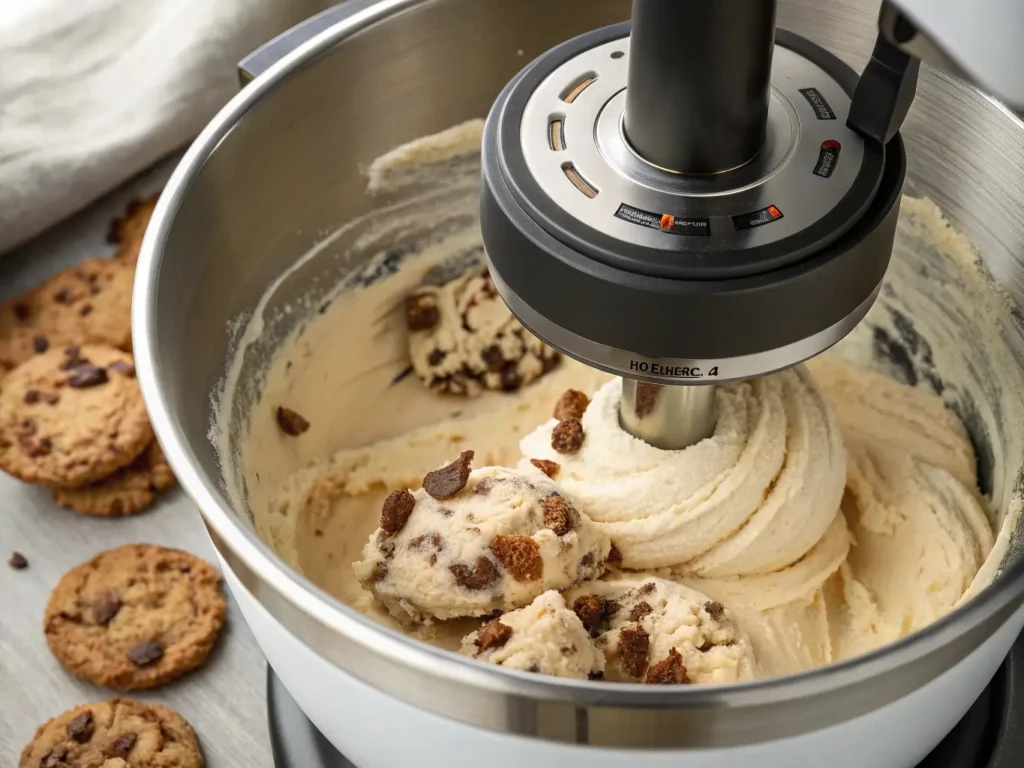
Preparing the base: Mixing and freezing the ingredients
Your base is where the magic starts. For your Ninja Creami Cookies and Cream ice cream to come out smooth and rich, the ingredients need to be well-prepared and properly frozen.
Step 1: Choose your base
Pick a dairy or dairy-free base. For a traditional creamy version:
- ¾ cup whole milk
- ½ cup heavy cream
- 2 tablespoons sugar or preferred sweetener
- Optional: ½ tsp vanilla extract for extra depth
Step 2: Mix thoroughly
Whisk until fully blended. Undissolved sugar will ruin the texture of your Ninja Creami Cookies and Cream dessert, so mix well.
Step 3: Freeze flat for 24 hours
Transfer the mixture into your Ninja Creami pint, being careful to stay below the “MAX FILL” marker for optimal results. Seal and place it on a level surface in your freezer. Freeze the container for a full 24 hours to ensure the perfect creamy texture when processing.
Pro tip: Label your pint with the date/time to track freezing and avoid premature spinning.
Using the Ninja Creami settings properly
Now that your base is frozen, it’s time to transform it into the creamy dream known as Ninja Creami Cookies and Cream.
Step 1: Load and lock
Remove your frozen pint lid, insert it into the outer bowl, and lock it into your Ninja Creami machine securely.
Step 2: Spin it
Choose the Ice Cream function. The machine will process the solid base using high-speed blades—creating a smooth texture ideal for Cookies and Cream Ninja Creami lovers.
Step 3: Re-spin if needed
If the texture is crumbly, press Re-Spin. You may need 1–2 re-spins depending on your base. This function plays a crucial role in creating the luxurious, signature texture of Ninja Creami’s Cookies and Cream delight.
Step 4: Mix in the cookies
After the ice cream texture is smooth, it’s time for the fun part: cookies! Add crushed cookies (like Oreos) and use the Mix-In setting to blend them gently. This keeps those chunks intact—essential for real Cookies and Cream Ninja Creami flavor.
Expert Tips for Perfect Cookies and Cream in the Ninja Creami
Making Ninja Creami Cookies and Cream is simple—but making it amazing takes a few pro-level tricks. From getting the cookie texture just right to avoiding icy failures, this section is packed with insider tips that elevate your pint from basic to bakery-quality.
Avoiding common mistakes with mix-ins
Mix-ins like cookies are what make Ninja Creami Cookies and Cream so fun—and flavorful. But if you’re tossing in full cookies or adding them at the wrong stage, you could end up with chalky mush or uneven bites.
Do this:
- Crush cookies into medium-sized chunks before adding
- Add mix-ins after spinning the base (never before freezing)
- Use the Mix-In function only once to avoid pulverizing
Don’t do this:
- Don’t add soggy or super-soft cookies—they’ll dissolve
- Avoid oily or cream-filled cookies unless frozen beforehand
- Never over-blend your mix-ins—they’ll lose texture fast
For classic results, go with 4–6 crushed Oreo-style cookies per pint. That balance keeps the Ninja Creami Cookies and Cream recipe crunchy, creamy, and delicious.
How to prevent icy textures and chalky results
The most common complaint from new Ninja Creami users? That the texture came out icy, crumbly, or gritty. Fortunately, those problems are 100% fixable.
Tips to avoid an icy disaster:
- Use higher fat content in your base. Low-fat = ice crystals
- Don’t under-freeze. Freezing for under 24 hours? That’s a recipe for disappointment—the texture won’t turn out right
- Avoid too much water. Fruit juices or low-fat milks can ruin consistency
- Re-spin as needed. Even 2–3 spins can bring a base back to life
If your Ninja Creami Cookies and Cream turns out a bit dry, no worries—it’s an easy fix. Re-spin with 1–2 tablespoons of milk or cream added to the pint. This rehydrates the mixture and makes it smooth again.
Getting the right cookie chunk sizes
Let’s talk cookie science. The perfect Cookies and Cream Ninja Creami texture depends on cookie chunks that hold up during the mix-in stage—without dominating every bite.
Ideal size:
- ¼-inch cookie chunks
- Crumble lightly by hand or pulse in a food processor (but don’t overdo it)
Cookie-to-base ratio:
- 4–5 cookies per pint = subtle crunch
- 6–8 cookies = classic cookies and cream profile
- 10+ = Oreo explosion (for cookie monsters only)
Want bigger crunch? Freeze the cookie pieces separately and add them manually on top after the final spin.
Bonus tip: Freeze a “dry mix-in stash”
If you make Ninja Creami Cookies and Cream often, pre-crush cookies and freeze them in a sealed container. This keeps them crisp and ready to mix in anytime without going stale or soggy.
You can even create cookie mix-in blends using:
- Oreos + white chocolate chips
- Gluten-free cookies + chopped pecans
- Crushed chocolate graham crackers + marshmallows
These variations make every pint feel unique while still staying true to that Cookies and Cream Ninja Creami magic.
💡 Pro Insight: Even seasoned users forget to let the finished pint rest for 5–10 minutes in the freezer before scooping. This final freeze firms up the edges and enhances that classic store-bought texture.
Ninja Creami Cookies and Cream Variations
One of the best things about making Ninja Creami Cookies and Cream at home is how easy it is to get creative. Whether you’re eating low-carb, dairy-free, or just want to bump up the protein, there’s a version of this flavor that works for you. Let’s dive into a few fan-favorite twists that are as delicious as they are creative.
High-protein Ninja Creami Cookies and Cream
Fitness folks and protein lovers, this one’s for you. With a few ingredient swaps, you can turn your Ninja Creami Cookies and Cream recipe into a post-workout treat packed with gains—not guilt.
Base ingredients:
- Use ¾ cup of Fairlife protein milk—or any high-protein milk you love—for a creamy, nutrient-packed base
- 1 scoop vanilla or cookies & cream protein powder
- 1 tbsp sugar-free instant pudding mix (for creaminess)
- Optional add-in: 1 tablespoon of plain Greek yogurt or cottage cheese for extra creaminess and a protein boost
Tips:
- Blend ingredients thoroughly to avoid powder clumps
- Let it sit 5 minutes before freezing so bubbles settle
- Use high-fiber cookies or protein cookies for the mix-in
This protein-packed version still delivers the creamy texture you expect from Ninja Creami Cookies and Cream, but with fewer carbs and more muscle-building fuel.
Dairy-free and vegan-friendly options
Can’t do dairy? No problem. You can still enjoy Cookies and Cream Ninja Creami by using plant-based ingredients that spin just as smoothly.
Best non-dairy bases:
| Base Type | Texture | Flavor Impact |
|---|---|---|
| Full-fat coconut milk | Creamy | Slight coconut taste |
| Oat milk + nut butter | Smooth | Neutral, nutty |
| Almond milk + vegan creamer | Light & fluffy | Mild vanilla flavor |
Vegan cookie options:
- Gluten-free Oreos (yes, they’re vegan!)
- Animal-free sandwich cookies
- Homemade coconut oil-based chocolate cookies
Mix and match for your perfect plant-based Ninja Creami Cookies and Cream ice cream.
Cookies and Cream gelato and smoothie bowl styles
The Ninja Creami isn’t just for ice cream—it also makes gelato-style and smoothie bowl variations of Cookies and Cream that you can enjoy for breakfast, dessert, or both.
Gelato-style Ninja Creami Cookies and Cream:
- Use more egg yolk or cream cheese in your base
- Add a splash of espresso or hazelnut liqueur for depth
- Spin once, re-spin with a touch of cream, and serve immediately
Smoothie bowl version:
- Use frozen bananas + oat milk as your base
- Blend in 1 scoop plant protein and cocoa nibs
- Add crushed cookies after spinning
- Top with granola, berries, or nut butter
These offbeat versions let you enjoy Ninja Creami Cookies and Cream in totally new ways—without sacrificing flavor.
Fun flavor mashups: Take it beyond cookies
Want to get bold with your pint? Try combining Cookies and Cream Ninja Creami with other mix-ins for wild, irresistible combos:
- Peanut Butter Cookies and Cream: Add a swirl of PB before mixing
- Mint Cookies and Cream: Use mint extract + chocolate sandwich cookies
- S’mores Cookies and Cream: Fold in gooey marshmallows and crunchy graham cracker pieces for a campfire-inspired twist
- Chocolate Explosion: Use chocolate base + cookies + fudge ripple
Customizing your Ninja Creami pint is part of the joy—and these twists on the classic Cookies and Cream flavor give you permission to play. Whether you’re aiming for high-protein, dairy-free, or just more fun, there’s a Ninja Creami Cookies and Cream variation for every craving.
Comparing Store-Bought vs Homemade Cookies and Cream
Is it really worth making Ninja Creami Cookies and Cream at home when you can just grab a tub from the store? Absolutely. While commercial ice cream might seem convenient, making it yourself gives you full control over the ingredients, macros, and most importantly—flavor.
Let’s break it down across the three areas that matter most.
Nutritional comparison: sugar, fat, and protein
Store-bought Cookies and Cream ice creams are often loaded with added sugars, stabilizers, and mystery ingredients. With Ninja Creami Cookies and Cream, you control everything that goes into the pint.
| Comparison Item | Store-Bought (½ cup) | Ninja Creami (½ cup) |
|---|---|---|
| Calories | 210–250 | 150–190 (avg.) |
| Total Sugar | 18–24g | 6–12g |
| Protein | 2–4g | 6–15g (with protein) |
| Artificial Additives | Yes | No |
By customizing your base, you can easily create a Ninja Creami Cookies and Cream recipe that’s high in protein, lower in sugar, or fits keto, paleo, or dairy-free lifestyles.
Cost-effectiveness of using Ninja Creami
Grabbing high-end pints like Ben & Jerry’s or Häagen-Dazs can quickly become a pricey habit. A single pint can cost $5–$7, especially for limited-edition flavors like Cookies and Cream.
With the Ninja Creami:
- Ingredient cost per pint: ~$1.50 to $2.50
- Reusable containers = no more waste
- Make small batches to avoid leftovers
- Use pantry staples (milk, cookies, sugar)
In under a month, your Ninja Creami Cookies and Cream habit pays for itself—especially if you’re making pints weekly.
Taste and texture: how homemade stacks up
Taste-wise, nothing compares to homemade Ninja Creami Cookies and Cream. Why?
- You control how many cookies go in (no skimping!)
- You decide the cookie chunk size
- You can re-spin to your preferred consistency
- No freezer burn or rock-hard texture
Store-bought ice cream often sacrifices quality for shelf life. But with your Creami, every batch is fresh, customized, and ultra-scoopable.
Reader Tip: Customize store-bought bases with Creami magic
Short on time? Blend half a store-bought Cookies and Cream pint with a small amount of cream and re-spin it using your Ninja Creami. It’s a shortcut to improve texture and flavor.
Bottom line: Homemade wins
Here’s the verdict: Ninja Creami Cookies and Cream gives you better flavor, better nutrition, and better value.
Whether you’re avoiding allergens, trying to eat cleaner, or just want more cookies in your Cookies and Cream, making it yourself beats store-bought every time.
Troubleshooting – What Not to Do with Ninja Creami
Even with the best ingredients and intentions, your batch of Ninja Creami Cookies and Cream can flop if you don’t follow a few essential guidelines. This section helps you troubleshoot common problems—from icy textures to cookie paste disasters—so your ice cream always turns out like a pro’s.
Why your mix didn’t freeze properly
The first rule of the Ninja Creami club: the base must freeze completely solid. If your Cookies and Cream base is even slightly soft in the center, the results will be disappointing.
Common freezing mistakes:
- Freezing less than 24 hours
- Overfilling the container (past the max fill line)
- Freezing at an angle, causing uneven thickness
- Using a fridge freezer drawer with weak airflow
Fix: Always freeze your Ninja Creami pint on a flat surface, near the back of the freezer (coldest part), and give it at least 24 hours to fully solidify.
Ingredients to avoid that ruin texture
Not every ingredient plays nice with the Creami blade system. Some items lead to icy, gritty, or gooey outcomes—far from the creamy dream you want.
Avoid these in your Ninja Creami Cookies and Cream:
- Fruit juices or watery plant milks → causes iciness
- Melted chocolate → hardens into waxy flakes
- Nut butters not blended in base → leads to thick clumps
- Low-fat or fat-free yogurt → makes the texture chalky
- Soggy or stale cookies → turns the mix into sludge
Want to level up? Stick to high-fat bases, use high-quality cookies, and blend smooth mix-ins to get that perfect Cookies and Cream Ninja Creami texture.
When and why to use the re-spin feature
If your ice cream looks crumbly after spinning, don’t panic—it’s normal. The Re-Spin function is designed to smooth things out without overprocessing.
When to re-spin:
- Your Cookies and Cream looks dry or sandy
- The center is still frozen but the sides are creamy
- You refreshed it with a quick splash of milk or cream to bring back that smooth, scoopable texture
Use Re-Spin up to two times if needed. ChatGPT a dit :
Pour in a tablespoon of milk between spins to boost creaminess and improve consistency.
Mix-ins gone wrong: the cookie paste mistake
This is one of the most common rookie errors with Ninja Creami Cookies and Cream: mixing in cookies before the initial spin.
When that happens, the cookies get pulverized into a paste and absorb the base liquid, ruining both the flavor and the texture.
Solution:
- Spin your base first
- Then add crushed cookies
- Select the Mix-In setting to softly blend your add-ins without overmixing
Following this step preserves the crunch and contrast that makes Cookies and Cream so beloved.
Quick Fix Table: Troubleshooting at a Glance
| Problem | Likely Cause | Quick Fix |
|---|---|---|
| Crumbly, dry texture | Under-frozen or low-fat base | Re-spin with 1–2 tbsp milk |
| Icy crystals in final product | Too much water in base | Add fat (cream or nut butter) |
| Cookie mush or sogginess | Mixed before spin | Always add cookies after first spin |
| Too soft or melty after spin | Under-frozen base | Freeze flat for 24+ hours |
| Chalky or gritty consistency | Fat-free ingredients or over-spun | Use whole milk or full-fat alternatives |
Avoiding these missteps will drastically improve your next Ninja Creami Cookies and Cream recipe, turning every pint into a reliable, creamy success.
Conclusion
After diving deep into every aspect of this delicious creation, one thing is clear—Ninja Creami Cookies and Cream isn’t just another frozen dessert. It’s a fully customizable, easy-to-make, flavor-packed indulgence that fits any lifestyle.
From understanding your ingredients to perfecting your spin and avoiding rookie mistakes, you now have everything you need to whip up pint after pint of creamy, cookie-studded perfection. Whether you want a high-protein version, a dairy-free pint, or just something better than store-bought, this recipe delivers.
So go ahead, prep your base tonight. Tomorrow, you could be scooping the best Cookies and Cream Ninja Creami you’ve ever had.
For more recipes, follow me on Facebook and Pinterest.
FAQs
u003cstrongu003eWas Ninja Creami discontinued?u003c/strongu003e
No, the u003cstrongu003eNinja Creamiu003c/strongu003e has not been discontinued. In fact, it continues to grow in popularity thanks to social media buzz and the rise of DIY frozen desserts. New models and color variants are still actively sold through retailers like NinjaKitchen.com, Amazon, and Walmart.u003cbru003eThere may be occasional stock shortages due to high demand—but rest assured, Ninja is still supporting and expanding the Creami line.
u003cstrongu003eWhat not to put in Ninja Creami?u003c/strongu003e
While u003cstrongu003eNinja Creami Cookies and Creamu003c/strongu003e is highly customizable, there are a few ingredients that simply don’t work well in the machine:u003cbru003eu003cstrongu003eAvoid adding:u003c/strongu003eu003cbru003eAlcohol (prevents freezing)u003cbru003eWatery juices (leads to icy texture)u003cbru003eFresh fruit chunks (can freeze hard and damage blades)u003cbru003eWhole nuts (too dense—add after spinning if desired)u003cbru003eMelted chocolate or syrups (can harden into waxy bits)u003cbru003eIf in doubt, spin first, then stir or use the u003cstrongu003eMix-Inu003c/strongu003e feature for delicate add-ins. This is especially important for maintaining that signature u003cstrongu003eCookies and Cream Ninja Creamiu003c/strongu003e texture.
u003cstrongu003eCan I put cookies in Ninja Creami?u003c/strongu003e
Absolutely! Cookies are essential to making u003cstrongu003eNinja Creami Cookies and Creamu003c/strongu003e, but the u003cstrongu003etimingu003c/strongu003e matters. Never put cookies into the base u003cemu003ebefore freezingu003c/emu003e. Instead, freeze your base solo, spin it once or twice, and then add your crushed cookies using the u003cstrongu003eMix-Inu003c/strongu003e function.u003cbru003eThis method keeps cookies crunchy and avoids turning them into mush or paste.u003cbru003eu003cstrongu003eTip:u003c/strongu003e Freeze your cookies before using to enhance texture.
u003cstrongu003eWhat are the downsides of the Ninja Creami?u003c/strongu003e
Although the u003cstrongu003eNinja Creamiu003c/strongu003e is a game-changer for home ice cream lovers, it’s not without a few limitations:u003cbru003eDownsideu003cbru003eWorkaroundu003cbru003eNeeds 24-hour freeze timeu003cbru003ePrep multiple pints aheadu003cbru003eMachine is loudu003cbru003eRun during daytime or when kitchen is emptyu003cbru003eLimited to 1 pint at a timeu003cbru003eUse extra containers to batch freezeu003cbru003eNot dishwasher safeu003cbru003eRinse immediately for easy cleaningu003cbru003eu003cbru003eFor most users, these are minor inconveniences compared to the value the Creami delivers—especially when you’re enjoying flavors like u003cstrongu003eCookies and Creamu003c/strongu003e on demand.
Share Your Experience
There are no reviews yet. Be the first one to write one.